Do you have a burgeoning business, a funny idea, or an upcoming event? You can print T-shirts to tell everyone about it. Take a look at some options below before you decide which way to go.
See Related: What Are Dad Hats, And Why Are They So Popular?
Design the image of your dreams before you begin
Before we go into detail about the various methods, you’ll first need to finalize your design.
You may already have a logo or image in mind. If you plan to sell T-shirts, you won’t want to launch your business with a lawsuit, so be sure you’re utilizing designs that you’ve created or have permission to use.
If you designed the image on your computer, then you’re already one step ahead. If not, you’ll need to upload the image. You can scan it, or take a photo to send to the computer (and subsequently, the printer).
So without further ado, let’s talk about techniques.
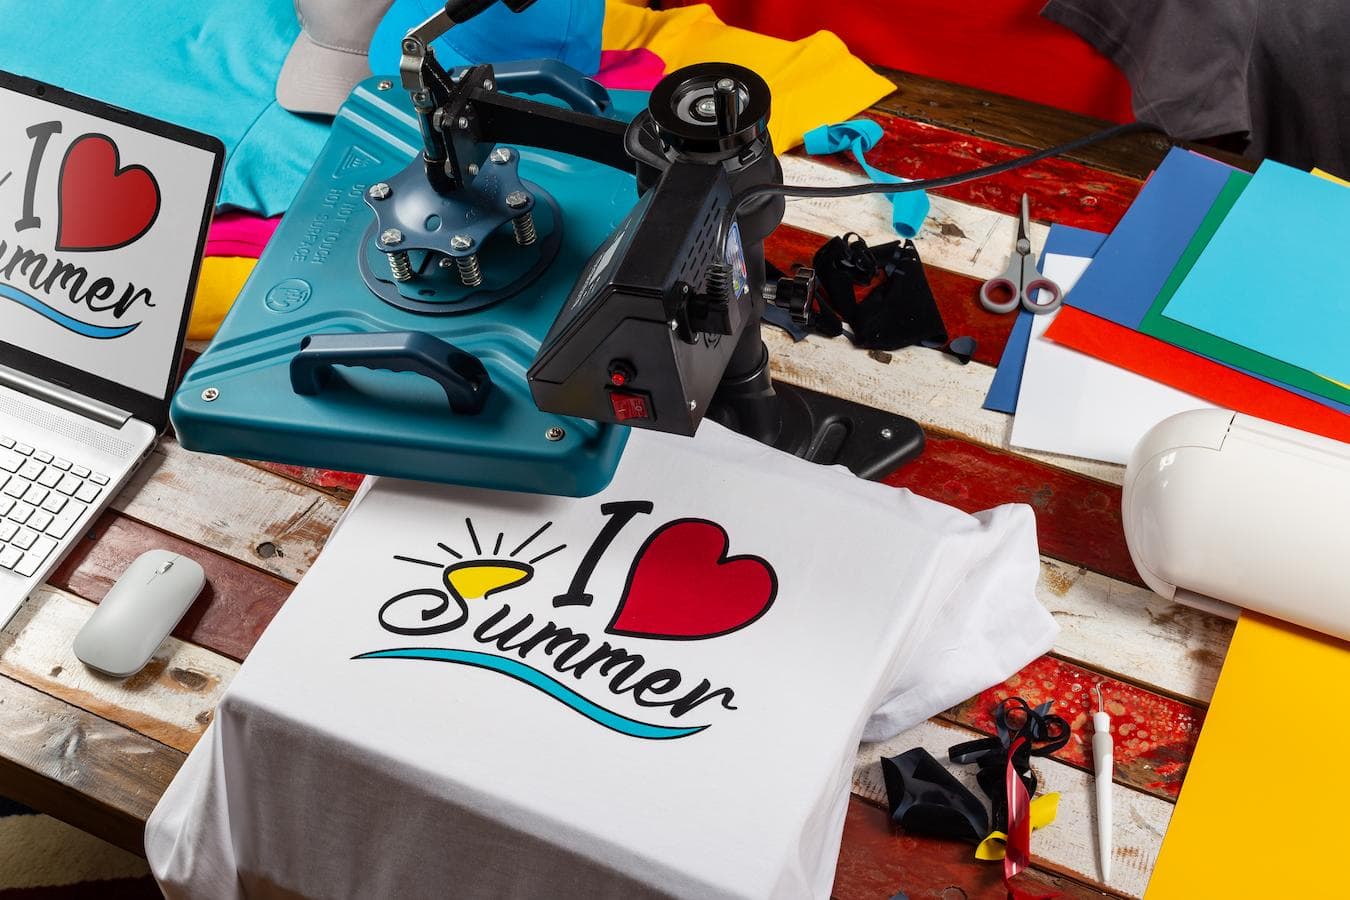
1. Try the heat transfer vinyl technique
Even within the DIY category, there are a variety of T-shirt printing methods. The first one we’ll talk about is heat transfer vinyl printing.
Sometimes referred to as HTV, vinyl printing, or iron-on vinyl, this printing method uses a material that has a heat-activated adhesive, which enables a design to be transferred from said material onto fabric using a heat press or iron.
With this kind of heat transfer printing, you’re basically using heat and pressure to bond a layer of vinyl to the top of a T-shirt. Other printing methods actually dye the fabric itself.
There are pros and cons to each method, which we’ll be sure to share, but first, a little more about this vinyl printing heat press method.
Materials needed for this method
You’ll need an iron or heat press machine, special heat transfer paper (printable heat transfer vinyl, not regular printer paper), scissors, and of course your t-shirt. As mentioned earlier, you’ll also need use of a computer and inkjet printer.
Heat transfer vinyl for heat transfer printing comes in either sheets or rolls. There are a variety of colors and finishes. If you want to go glossy…great! Are you a sucker for sparkles? Get it with glitter. This is where you can add some flavor to your design.
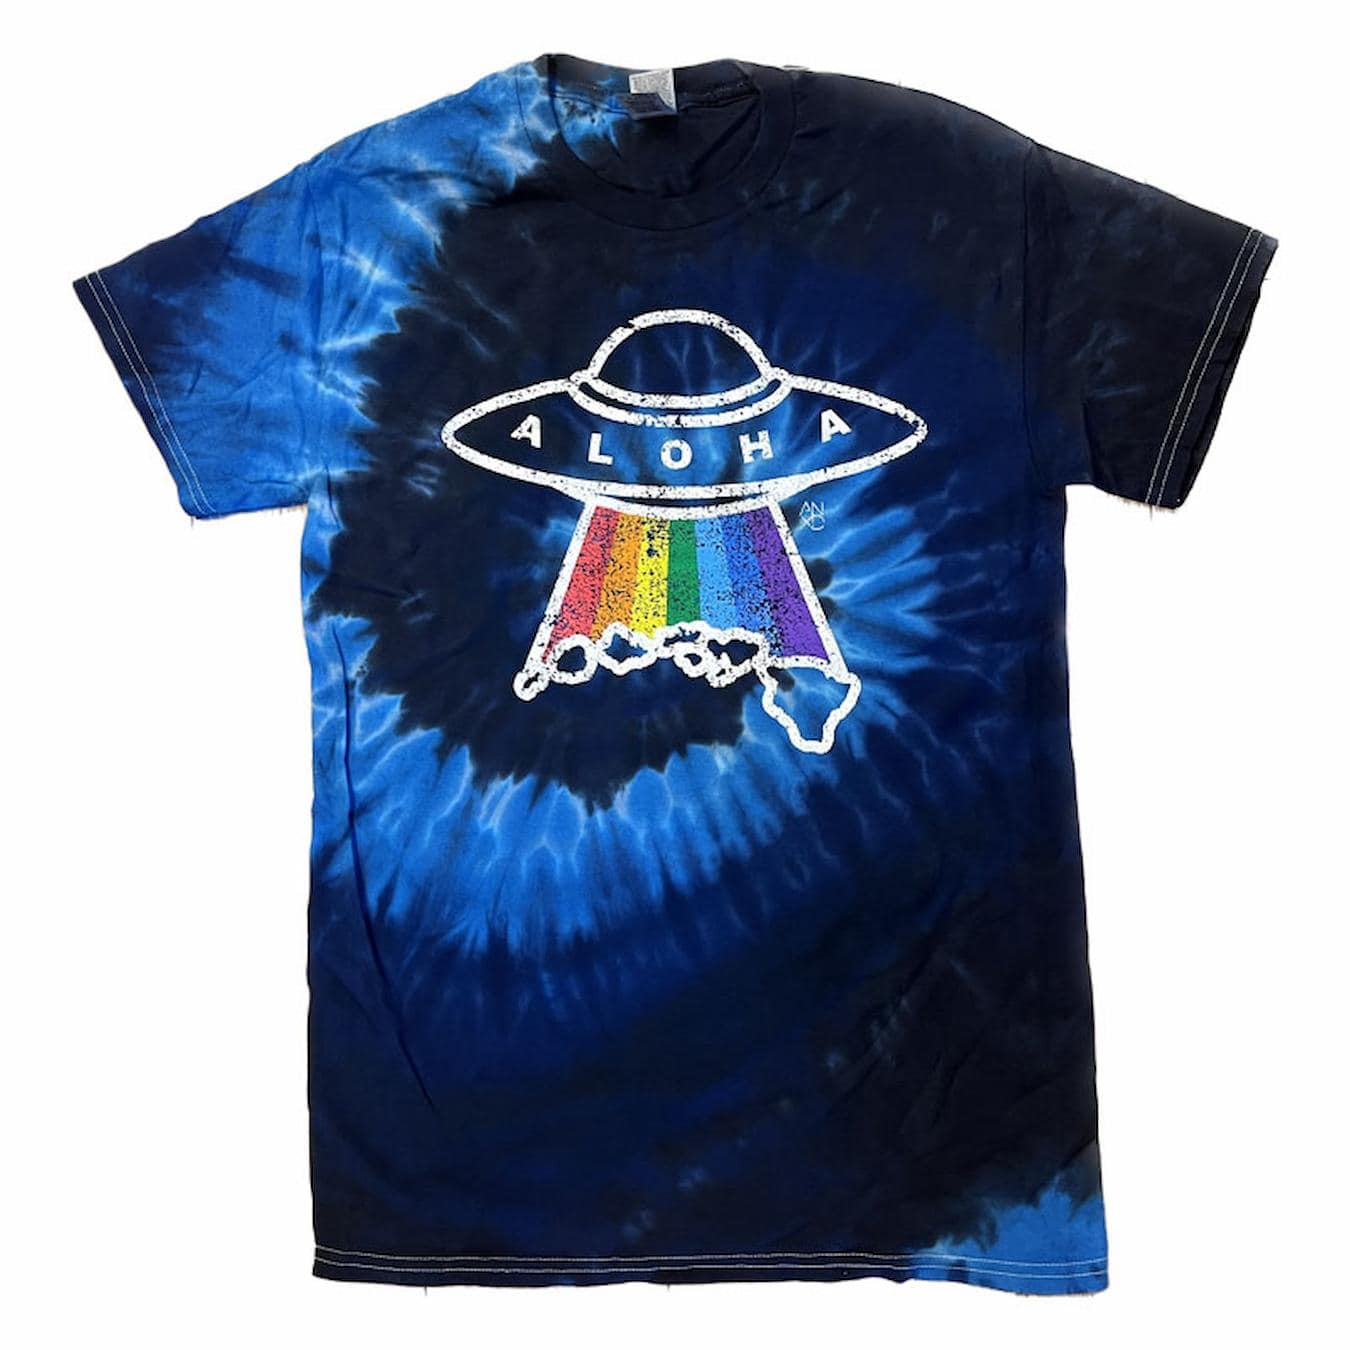
If you’re looking for high-quality T-shirts that can be crafted with your unique custom design, Double Portion Supply can do it all. Especially if you’re looking to buy some T-shirts in bulk for your business or brand, we are the top supplier for any custom apparel you might need.
We even can create countless custom hats!
 Steps for this t-shirt printing method
Keep in mind that very precise cutting is required for complicated designs that aren’t in a simple shape. If you attempt to iron on the image and there is excess transfer paper, there will be a shadow mark left on the shirt wherever the blank transfer paper was placed.
-
- Once you have the design on your transfer paper perfectly cut, find a surface that will withstand heat. An ironing board will work. You can also cover a smooth table with a cotton pillow case to protect both the t-shirt and the table.
- The transfer paper likely comes with instructions you can follow. If not, make sure your iron is set to dry heat, as you don’t want any steam.
- Before you apply the design, be sure to iron the t-shirt flat and get rid of wrinkles.
- Place the transfer paper down according to color. Light transfer paper should be placed face down and dark transfer paper should be placed face up.
- Double check placement of the image, then iron it on, applying pressure evenly and constantly. This may take half a minute to a few minutes – just check your specific transfer paper for instructions.
- After the specified time, remove the iron and let the t-shirt cool down. Wait until it has cooled off before you remove the transfer paper.
- Peel off the paper, and voilà! Your shirt has a beautiful made-by-you design.
 2. Why not DIY with Dye sublimation printing?
Sublimation printing (also known as all-over printing or AOP) uses heat to transfer a design to a t-shirt.
However, unlike heat transfer printing which bonds the design to the surface of the fabric using an adhesive, the dyes in sublimation printing become gas and are absorbed into the fabric itself.
In the end, this means that t-shirts made with dye sublimation are more resistant to shrinking and stretching than heat transfer printing, and also less likely to crack over time.
While it creates durable designs, there are a few drawbacks. For one, dye sublimation printing can only be done on fabrics that are at least 50% polyester or have a polyester coating.
Another downside of this printing process is that it doesn’t work with dark colors. So if you’re considering sublimation printing, just know that it’ll only show up well on light-colored backgrounds.
Materials needed for this method
A computer and computer software are required to create the t-shirt design and send it to a printer.
With dye sublimation printing, you need a special inkjet printer or sublimation printer to print the design onto sublimation paper. This means you’ll need that printer (with special sublimation ink) and sublimation paper, as well as the t-shirt itself.
It’s not ideal to use an iron for dye sublimation, so you may want to invest in a heat press machine if you plan to use the heat press technique more frequently.
Steps for this t-shirt printing method
- When it comes time to print on the sublimation paper, make sure your image is the correct size and has the highest resolution. Remember to mirror the image so that it transfers as you intend.
- Once printed, cut the edges around the design.
- Remove dust and lint, and pre-press the shirt to remove moisture.
- Place the paper with your design on the t-shirt in the desired location. Secure on the corners with heat resistant tape.
- Follow the settings specified on your heat press and apply heat. This vaporizes the dye, allowing it to penetrate the fabric, and become permanently absorbed into the material.
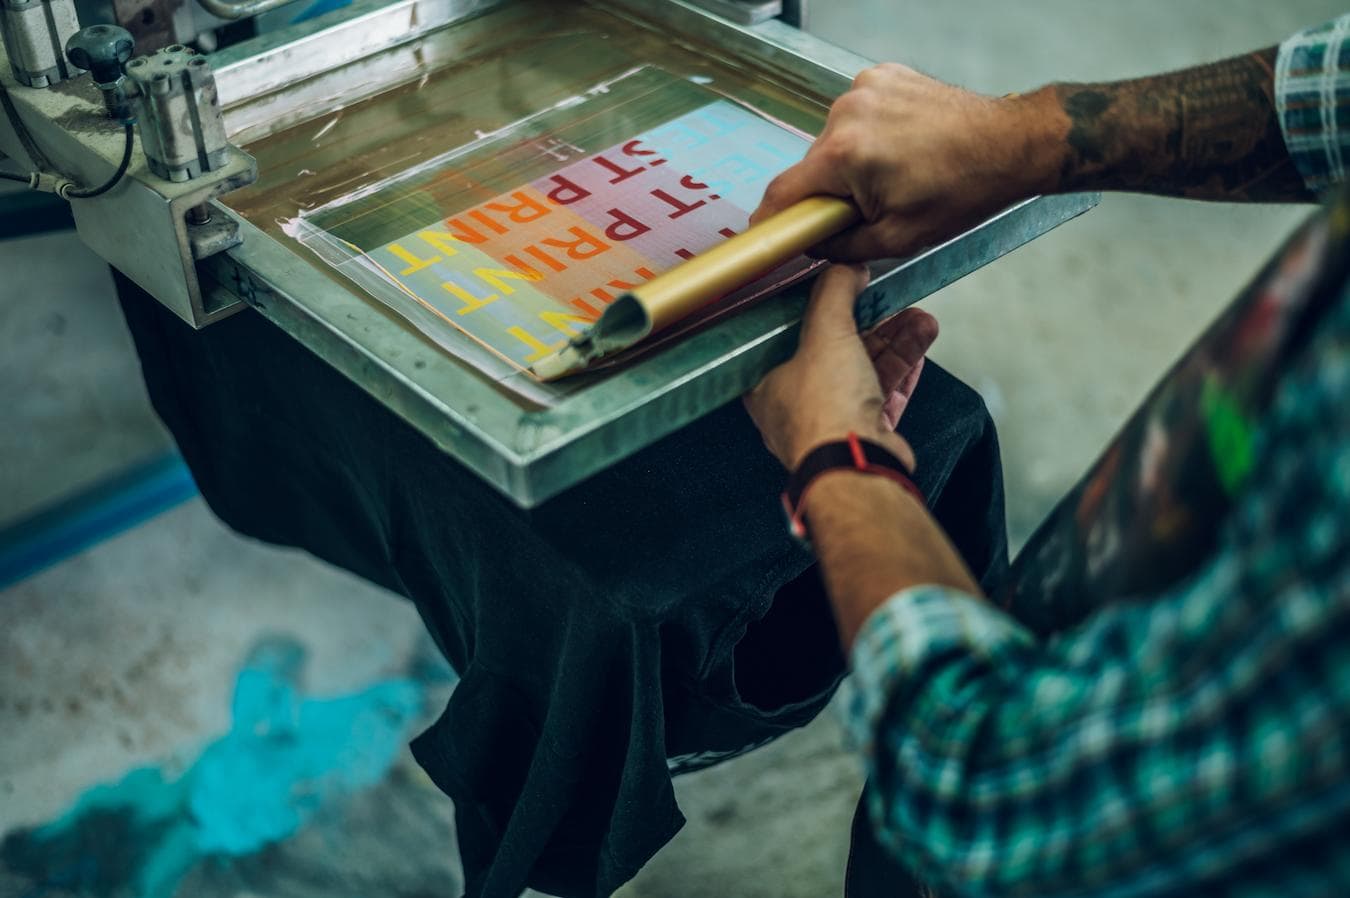
3. Silk screen printing has potential
You’ve probably seen those screen printing machines that look a little bit like a multi-limbed robot, but the screen printing process doesn’t have to be scary.
Screen printing is the method where you push ink through a mesh stencil (screen) onto the t-shirt (or other garment). Unlike the sublimation process, the ink isn’t fused into the fabric, but lays on top.
Bonus: 4 Tips For Styling A Trucker Hat
 It is one of the direct to garment printing methods, and is good for bulk orders with fewer colors.
You can try screen printing to produce beautifully designed garments in the comfort of your own home. There’s the option of doing it all yourself, but there are some shortcuts we’ll share as well.
Materials needed for this method
Once again, you’ll need a computer when coming up with a design, whether you’re doing every step by yourself, or sending your image off to a company that creates the screen for you.
For now, let’s assume you’re outsourcing the screen, so you don’t need to create the frame, attach the screen, deal with emulsion, etc.
Once you receive the screen with your image you’ll still need plastisol ink or water-based screen-printing ink and a squeegee. Screen printing requires a printing table that has hinges in order to place it properly.
You should also have the necessary materials to clean the mesh screen between uses.
Steps for this t-shirt printing method
These are the steps if you have a single color. You would need to apply multiple colors layer by layer, and it would likely require multiple screens (as seen with the aforementioned multi-limbed robot)
- Place an insert inside your recently lint-rolled shirt.
- Align your screen directly above the shirt where you’d like it to appear.
- Gently spread the screen printing ink across the screen without applying any pressure (yet)
- After the image portion is covered with paint, use the squeegee to pull the ink down from the top of the screen to the bottom. With this printing stroke you are applying pressure so that the ink touches the t-shirt.
- Wipe away excess ink and put it in the container or back at the top of the screen.
- Repeat the process with the next t-shirt.
- Clean your screen.
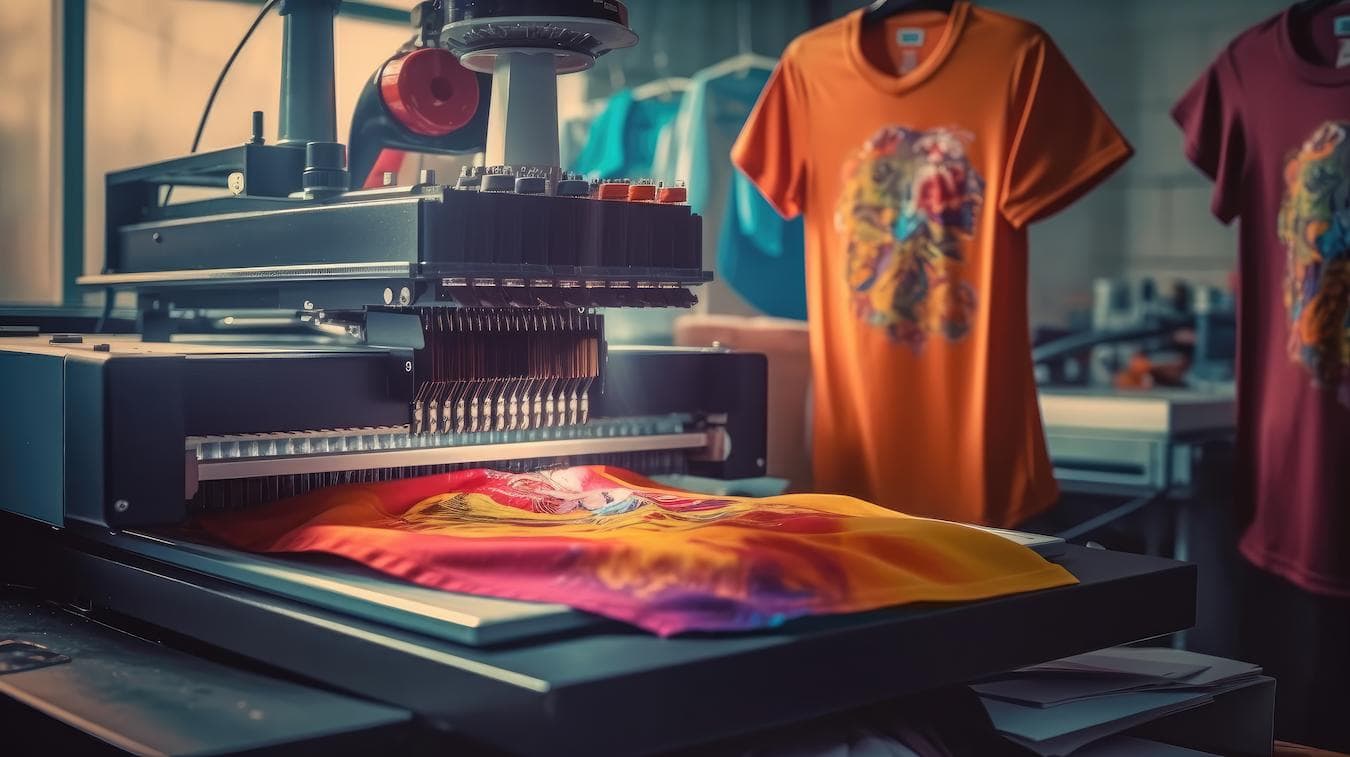
4. Get down with DTG (Direct to Garment) printing
Like screen printing, DTG printing means the ink is put directly on the t-shirt. This is the less messy of the two t-shirt printing methods.
This direct to garment approach allows you to make full-color, great-looking images. Family photos or complex designs aren’t a problem.
This is one of the t-shirt printing methods ideal for a small run. So if you want to have your own custom t-shirt, or maybe just a few more for good measure, DTG printing could be the t-shirt printing technique for you.
 Materials needed for this method
For this printing technique, you’ll need a DTG printer and the DTG ink. Spoiler alert: DTG printing machines are expensive, but there are hacks to help. You can search online how to convert various types of printers into DTG printers. Otherwise, outsourcing is always an option.
You’ll then need your plain 100% cotton t-shirts (though a cotton-blend t-shirt can also work).
Steps for this t-shirt printing method
For the DTG printing process, digital printers are used to spray water-based ink onto fabric.
- If you’ve splurged on one of those pricey DTG printing machines, or successfully converted a printer, congrats! That’s the first step.
- Next, apply a pretreatment solution. The aquatic polymeric emulsion fills the spaces in between the weaving of the t-shirt fabric. This prepares the surface for the perfect t-shirt design.
- The next step in DTG printing is mounting the garment and placing it into the printer.
- Finally, the ink must be cured. This can be done with a heat press, heat gun, or conveyor or flash dryer.
So while one-off t-shirts are easy to produce with DTG printing, it is one of the t-shirt printing methods that have substantial set-up costs.
If you’re not starting your own t-shirt printing business, and just want some custom t-shirts for an event now and then, it may be best to work with a print provider if you want to use this t-shirt printing technique.
5. Printing t-shirts with plastisol transfers
Similar to screen printing, plastisol transfers use a mesh screen and stencil. However, unlike screen printing which prints directly on the t-shirt, this method has the design digitally printed on plastisol transfer paper first.
This is one of the printing techniques that allows for some pre-planning, and lets you have the design ready to go for a demo or similar live printing situation.
Materials needed for this method
For printing t-shirts with this technique, you’ll need everything that’s mentioned above for screen printing, plus a few more items.
T-shirt printing with plastisol requires heat transfer paper and a heat press machine. It’s recommended to also have plastisol transfer powder or alternatively foil transfer adhesive if you plan to print on polyester or synthetic fibers.
Steps for this t-shirt printing method
- Screen print your plastisol transfers with plastisol ink on plastisol transfer paper. See the screen printing steps above, but make sure you have the right kind of ink.
- Once you’ve created your plastisol heat transfer, you need to gel the ink (partly cure it). In order to do so, you’ll heat the ink at around 200 degrees Fahrenheit. You’ll likely need to refer to the instructions of your particular equipment to determine how long this will take.
- If you’re using the powder, as recommended, you’ll cover the whole printed area with powder and then run it through the driver. This should gel – but not fully cure – the ink.
- You can then apply your plastisol heat transfer to your t-shirt, and at last admire your high-quality print t-shirt
This is one of the printing techniques a t-shirt business may want to have under their belt so they can demonstrate their process live. Otherwise, it’s not the most convenient method for printing t-shirts.
6. Activate your creativity with airbrushing
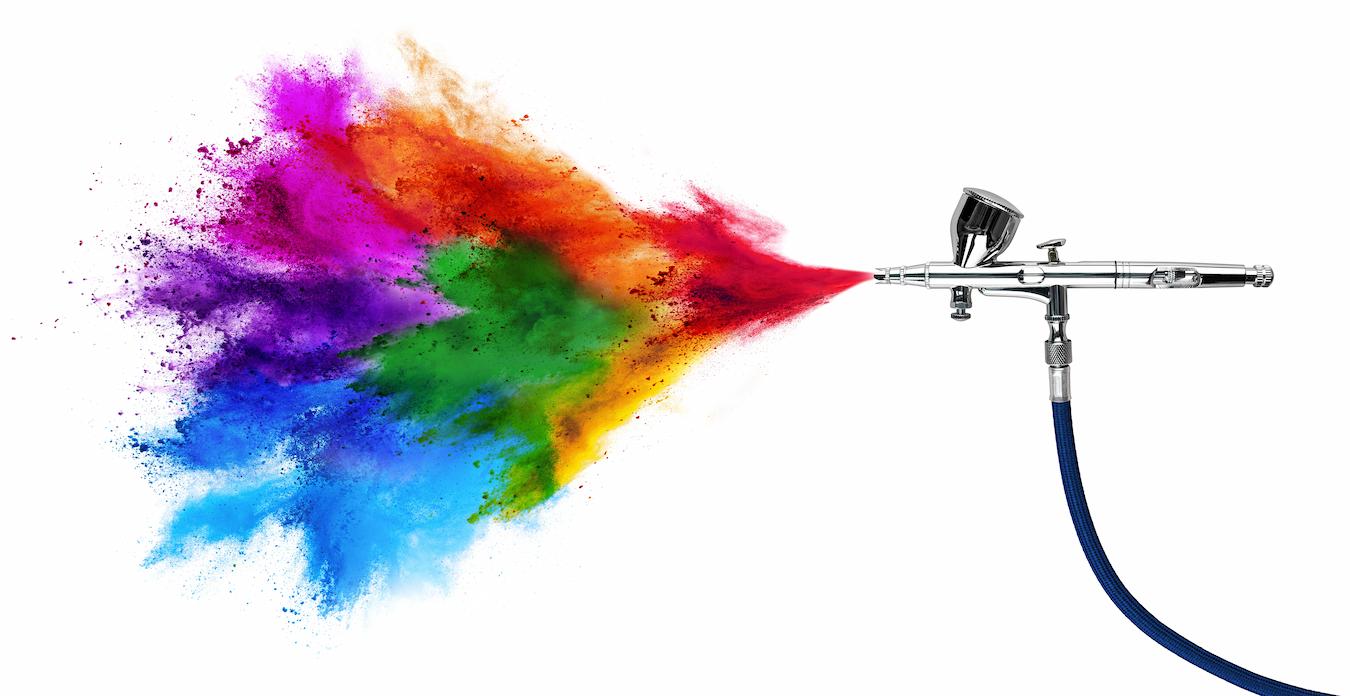 If screen printing, heat transfer vinyl printing, and the other printing techniques mentioned above don’t appeal to you, airbrushing could be a cool way to create your next t-shirt design.
Materials needed for this method
If you’re wondering how to do t-shirt design in this unique way, all you need to get started is the airbrush itself, the compressor, a t-shirt board, and the paints you’ll be using.
Of course, you’ll also need blank t-shirts. You can use cotton t-shirts or cotton poly blends. The t-shirt design tends to last a little longer on cotton, but there are benefits to both. With this method, you have your choice of light-colored shirts or darker shirts.
If you’re newer to airbrushing t-shirts you may also want to use airbrush t-shirt stencils. You can cut out your desired design using pennant felt, and place it over the shirt.
Steps for this t-shirt printing method
- Unless you’re flowing freestyle, you’ll want to print out the image you want to use. Place the image above the shirt board, but beneath the t-shirt. The other option is using that t-shirt stencil.
- Begin filling in the desired colors. The rule here is generally to work from lighter to darker, so change out your colors accordingly.
- Once your shirt is airbrushed, you’ll need to help it set so the color doesn’t run out with the first washing. You can use a heat press or a household iron. In other words, just set it and forget it!
If you’re not set on sending t-shirts to a t-shirt printer, try one of the DIY options above.
Once you learn how to do t-shirt printing, you might feel inspired to start your own online t-shirt business or add it to your existing services.
Keep Reading: 7 Tips For Packing And Traveling With A Hat
—
Double Portion Supply is the largest snapback superstore in Hawaii. Since 2001, we’ve helped clients across the United States make their creative vision a reality. From wholesale hats to ANXD brand apparel, we carry everything you need to keep your own brand stocked. Plus, our custom services extend to T-shirt printing, so you stay fresh from head to toe. Get all the latest information by following us on Twitter, Facebook, Instagram, and Pinterest.