Are you tired of seeing your old, once-beloved caps sitting idle in your closet? It might be time to breathe new life into them by revitalizing the brim!
At a Glance
- Pick Out Your Cap
- Grab a Container
- Get Your Hat’s Brim Wet With Warm Water
- Roll the Brim
- Put Your Hat Into the Container
- Let Your Hat Dry
- Enjoy the Perfect Curve, Or Repeat if Necessary
The right hat can be a genuine extension of your personality. However, finding a style that suits you isn’t always that easy. When picking out the perfect cap, you can’t go wrong with Double Portion Supply’s line of quality snapbacks. Other times, all it takes is a slight adjustment to your trusty baseball cap to renew its appearance.
Keep reading, and we’ll tell you how to properly bend the brim of your hat in seven simple steps.
See Related: Trucker Hat Vs. Baseball Hat: What’s The Difference?
#1. Pick Out Your Cap
When it comes to hat adjustments, you always need to be extra careful. It’s a good idea only to try bending the brims of older caps that have seen better days.
Caps like our White Tapa or Haiku Floral are made with high-quality fabric and stitching that set them apart from other brands. It’s a good idea not to tamper with their shape. Everything from the golden bill sticker to the adjustable snapback closure is crafted with excellent precision and attention to detail.
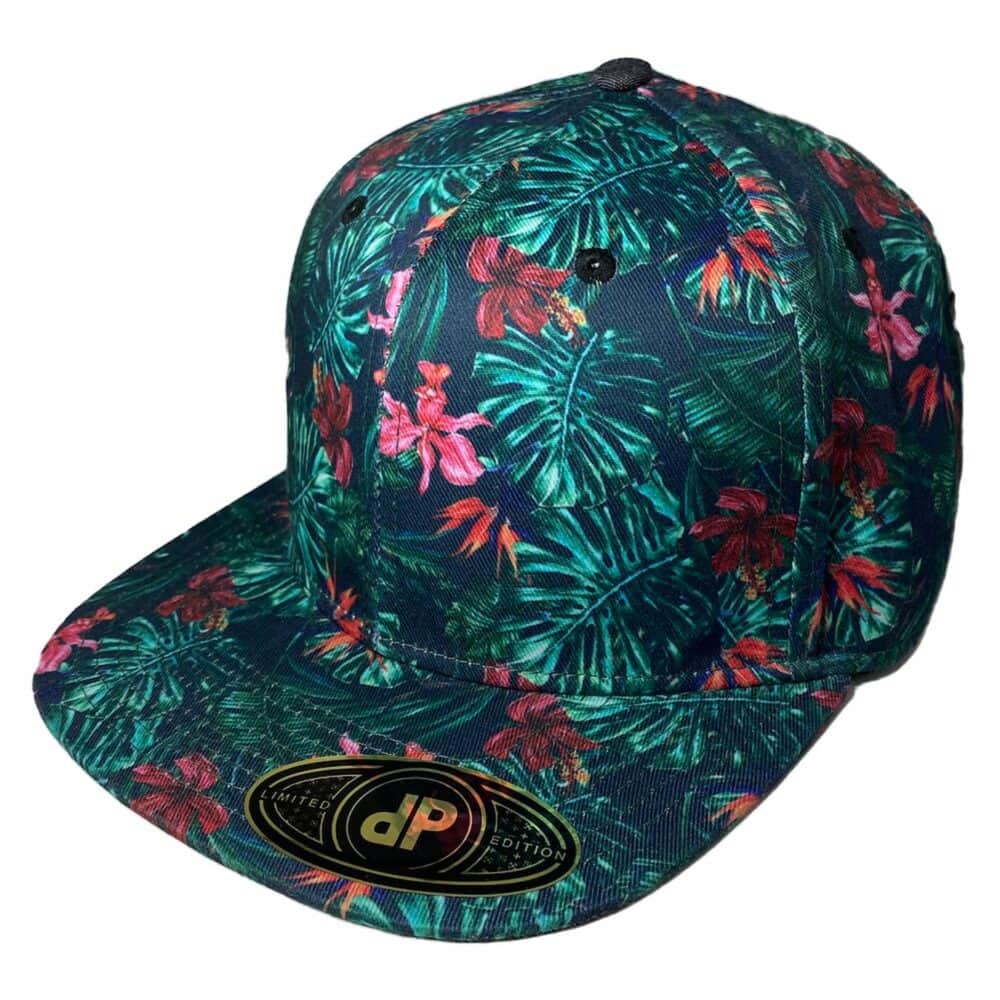
The Haiku Floral Snapback Hat from Double Portion Supply
People can have different preferences and tastes when it comes to accessories. Maybe you’re drawn to the laid-back comfort of dad caps or the vacation vibes of a bucket hat. Regardless, your hats should be a reflection of who you are!
Whether you’re searching for the perfect addition to a stylish fit or a collection of custom caps to buy in bulk, Double Portion Supply has everything you are looking for and more.
#2. Grab a Container
If you’ve decided to bend the brim of one of your favorite hats, don’t worry—the process is simple and smooth. All you need to do to start is grab a container from your Chinese takeout and wash it with soap and water. It’s important to make it squeaky clean, so the oils don’t compromise the cap’s material.
The deeper the curve, the smaller the container. Larger plastic containers are better if you’re only wanting to add a slight curvature to your brim. But if you want something more dramatic, a slim cup might do the trick.
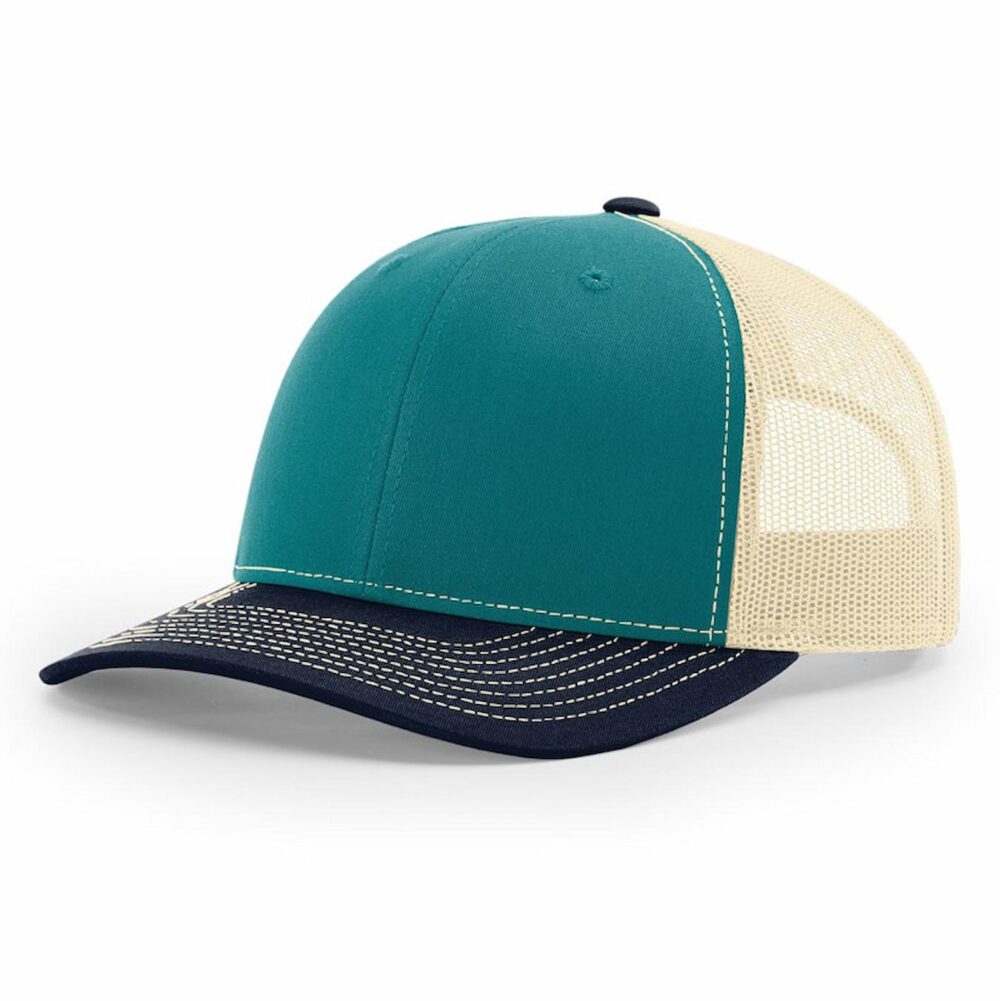
The 112 Teal Birth Navy Hat from Double Portion Supply
Bonus: 5 Best Men’s Summer Hats For 2024
#3. Get Your Hat’s Brim Wet With Warm Water
Once your materials are prepped, you’ll need to wet the brim in hot water so it is soaked on the top and bottom. Be careful not to get the other parts of your hat wet so that the colors don’t dull.
It’s best to use steamy, hot water so the material is more bendable. The steam helps to open the pores of the hat’s material so that it is easier for you to handle.
#4. Roll the Hat Brim
Now, you’ll need to roll the bend to your desired shape while it’s still wet. You can do this by gently rolling the brim with your hands. Be sure not to be too aggressive or manipulative so that you don’t damage your hat. Move slowly but steadily, and take your time to create the perfect curve.
#5. Put Your Hat Into the Container
Now that your brim is rolled, gently insert it into the container you prepared, brim-down. Double-check that the container is clean before putting your hat in it.
The container will act as a mold for your brim as the hat dries. Just be sure that you have placed your hat in perfectly so that it won’t dry into a weird shape!
#6. Let Your Hat Dry
It might take about an hour for your hat to completely dry before you remove it. It’s important to wait until there’s no moisture remaining. If you take out your hat too soon, the curve you created will loosen and likely return to its original position.
To be safe, leave your hat in the mold for at least two hours. This will give it plenty of time to bend.
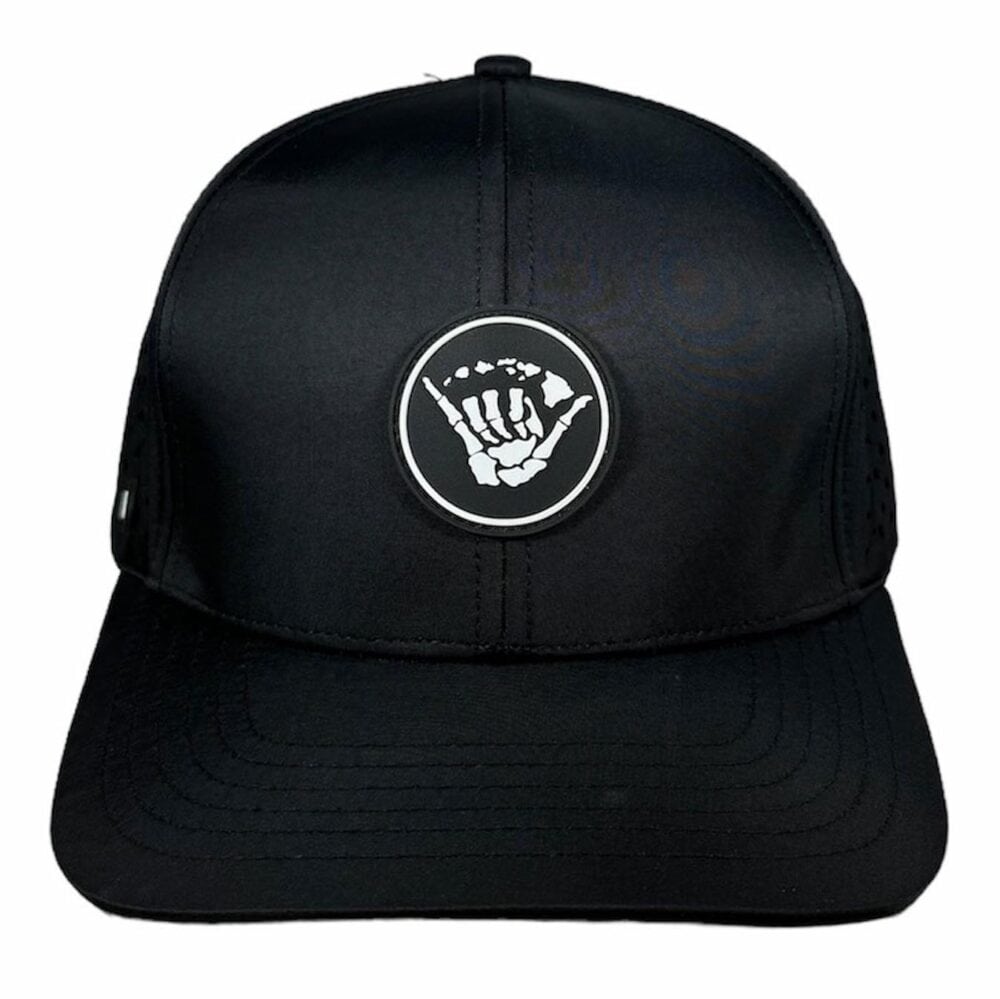
The ANXD Skelylands Snapback Hat from Double Portion Supply
#7. Enjoy the Perfect Curve, Or Repeat if Necessary
After you’ve waited a couple of hours, check that your hat is dry. If you live in a cold or humid place, it might need a bit more time. But if it’s completely dry to the touch, then it’s time to take out your hat!
Once again, move slowly and gently. Hopefully, you’re fully satisfied with the new shape of your brim! However, if you want a slightly steeper curve, you can repeat this process. In fact, you can follow steps two through six as many times as needed until you achieve the ideal curve.
Remember: You can always bend your hat more, but it’s really hard to undo a curve that’s too steep. Don’t act too hastily! It’s also a good idea to move slowly and gently throughout this process to avoid breaking your hat.
Final Thoughts
Everyone has unique preferences and tastes, whether that be in the curve of your cap’s brim or the design of your favorite T-shirt. If you have an old baseball hat hidden away in your closet, it might be worthwhile to experiment with some DIY alterations!
Keep Reading: 13 Merch Ideas That Will Earn You Money
—
Double Portion Supply is the largest snapback superstore in Hawaii. Since 2001, we’ve helped clients across the United States make their creative vision a reality. From wholesale hats to ANXD brand apparel, we carry everything you need to keep your own brand stocked. Plus, our custom services extend to T-shirt printing, so you stay fresh from head to toe. Get all the latest information by following us on Twitter, Facebook, Instagram, and Pinterest.